We use cookies to make your experience better. To comply with the new e-Privacy directive, we need to ask for your consent to set the cookies. Learn more.
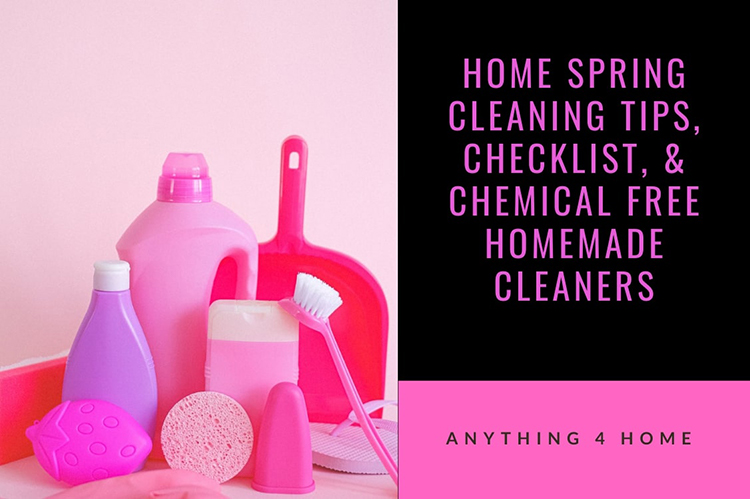
Home Spring Cleaning Tips, Checklist, And Chemical Free Homemade Cleaners
Posted:
September 08, 2021
Categories:
Home
Spring cleaning isn’t just reserved for the spring – and while tackling the whole house in one go can feel overwhelming, taking it one room at a time means that, once it is done, you’ll be able to keep on top of your cleaning on a weekly basis. In this post, we’ll be sharing some of the greatest tips and tricks for keeping your home clean, without needing to use harsh chemicals.
If you’ve got children, pets, a member of your family suffers from allergies, or you just want to avoid using harsh chemicals to avoid health and environmental concerns, you don’t need to spend a lot on pre-made natural cleaning products. There are some great natural products that can be used for cleaning that are just as – or even more effective than using chemicals. The great thing about most of these natural cleaning tips is that they are incredibly inexpensive, and so as well as being better for us and the environment, they’re also great for your bank balance!
Cleaning Checklist
- Before you get started with cleaning using natural products, there are a few things you’ll want to collect – and luckily, they don’t cost an awful lot!
- White vinegar (you can buy this in bulk inexpensively)
- Baking soda (AKA bicarbonate of soda)
- Lemon juice
- Essential oils of your choice (optional)
- Cloths and sponges (as you prefer)
- Sweeping brush
- Dustpan and brush
- Spray bottles (you can rinse old ones)
Natural Multipurpose Cleanser
Multipurpose cleaning sprays are the most reached-for cleaning products, and although commercial versions aren’t typically very expensive, they can be irritating for sensitive noses and lungs. In addition to that, buying new sprays every week isn’t great for the environment, since most trigger sprays can’t be separated to be recycled properly, which means they end up in landfill.
You can refill those old trigger spray bottles with natural multipurpose cleansers that cost just a few pence to make, which is much better for the environment, and saves you loads of money in the long term!
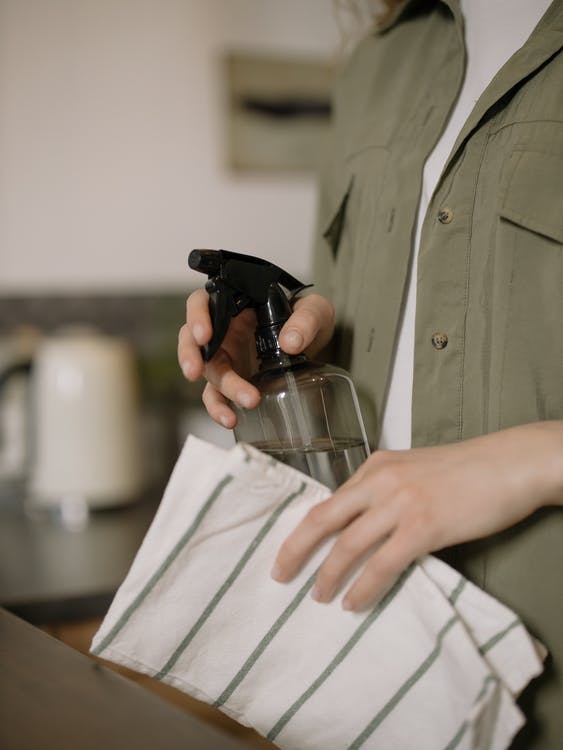
White vinegar and baking soda are by far the most effective products for natural cleaning – and you can use both of these recipes in much the same way that you’d use any other multipurpose cleansers. Once you’ve mixed the ingredients together, all you need to do is add it to an empty spray bottle, spray surfaces and wipe with a clean, damp cloth.
White Vinegar Multipurpose Cleanser
White vinegar is great for killing bacteria and viruses, and you can use it neat, straight from the bottle. However, it doesn’t have a scent that many of us enjoy – and let’s face it, you don’t want to worry about your home smelling like a pickle!
To make white vinegar smell much better, simply soak the peels of any citrus fruits you consume in your home – lemon, lime or orange are all perfect – in white vinegar for a while, then add the solution to a spray bottle, and use in place of a regular multipurpose cleaner.
If you don’t like citrusy scents, try mixing adding a few drops of essential oils to neat white vinegar. Tea tree oil is known to have natural antibacterial properties, but lavender and sage can work well too. If you want to give your white vinegar multipurpose cleanser an even stronger kick, you can add lemon juice to it – but if you do, keep it in the fridge between uses to keep it fresh.
If you’ve got granite surfaces in your home, don’t use vinegar to clean it, since it can damage the surface. Warm soapy water is enough, or try a 50/50 solution of rubbing alcohol and water, with some essential oil.
Baking Soda Multipurpose Cleanser
Baking soda is another great way to clean your home easily. Sprinkle some on a sponge, and wipe counters, or try making it into an all-purpose cleaner – you’ll need:
- 500ml water
- 1 teaspoon baking soda
- ¼ teaspoon regular washing up liquid
- Essential oils (optional)
- Mix the water and baking soda together gently until the baking soda is completely dissolved
- Add the washing up liquid and gently mix – if bubbles appear, wait until they subside
- Add essential oils and gently mix
Whichever multipurpose spray you decide to make and use, you can get straight to work cleaning your home – let’s start in the kitchen!
Kitchen Cleaning Tips
Your kitchen sees a lot of action, and when you’re preparing food, you need to keep things super clean to avoid contamination and potential sickness. There’s a lot to do, and most of the time, cleaning areas in your kitchen isn’t any harder than using warm water with regular washing up liquid in it. But if you need something tougher, then you don’t have to reach for harsh chemicals – simply use one of the natural multipurpose cleansers that we mentioned above.
Kettle
Those of us that live in hard water areas often despair at how much limescale builds up in our kettles – because really, the only crunchy bits that should be in your cup of tea are biscuit crumbs! There are lots of chemical cleaners on the market for kettles, but we prefer a more natural approach.

This method is best done last thing in the evening, just before you’re about to go to bed – but it is super easy. Doing it overnight means that you won’t have to smell the vinegar (as long as you shut the kitchen door!) and the vinegar can continue working for longer.
- Fill the kettle to the minimum line with white vinegar, then fill to the maximum line with water.
- Allow the kettle to boil. Yes, it will smell strongly!
- Leave the kettle to cool completely overnight – the vinegar will continue to dissolve the limescale.
- In the morning, empty the kettle and refill with fresh water.
- Boil the kettle and empty it.
Once you’ve done this, your kettle is ready to use! What we like about this method is that even if someone accidentally drinks the water with the vinegar in, they won’t drink enough to cause them any harm – and they’ll certainly notice, so won’t take a second drink!
Fridge
Fridges need regular cleaning, with regular wiping down of the shelves, especially when spills inevitably occur. The good news with fridges is that they’re pretty easy to keep clean – hot soapy water on a nice clean sponge is all that is required to keep things nice and fresh and eliminate bacteria, or you can use your natural multipurpose cleaner.
If your fridge gets smelly, you can deodorise it with baking soda, and this is super easy too – you just need a small bowl of it (in powder form) in your fridge. It’ll help to soak up any smells, and you just need to change it monthly.
Microwave
Cleaning the microwave can be a tough job if you don’t help the situation along a little – and this is a great tip that we’ve used so many times after there’s been a spillage, or we’ve not been quite as quick at clean up as we could have been.
- Grab a large microwave safe bowl or jug (Pyrex is perfect!) and fill it with around 250 ml of water – although you don’t need to be exact.
- Then, chop up a piece of citrus fruit – lemon, lime or orange is perfect, and add it to the water. (If you don’t have any citrus fruit, you can add a few tablespoons of white vinegar to the water instead)
- Then, put the bowl in the microwave, and turn it on high for as long as it takes for the water to boil, and the inside of the microwave is filled with steam.
- Wait for it to cool for around five minutes, then (carefully!) take the water out and discard, and wipe the inside of the microwave with a sponge. Anything that had been stuck should now be loosened up and easy to wipe away.
Cleaning the outside of the microwave is easy too - simply use a soapy sponge to clean.
Oven
Just like your microwave, the inside of your oven can be a real challenge to get clean if you don’t keep on top of it. However, although there are many people that sing the praises of harsh chemicals to get ovens clean, it doesn’t have to be that way! We discovered this tip on Pinterest, and we’ve used it to get our ovens like new.
For oven bottoms and doors, mix together a 50/50 solution of white vinegar, lemon juice and a good squeeze of washing up liquid, and spray across oven bottoms and on the open door (it is well worth protecting the floor underneath with newspaper or cloths, just in case of drips). Then, apply kitchen towel and spray again, and leave overnight. When you come back to the oven, you’ll find it should wipe clean of greasy marks easily.
When it comes to your oven racks, put old towels in the bottom of your bath (to prevent scratches) and then add the oven racks and sprinkle baking soda on them. Then, add a liberal coating of vinegar – this will cause them to sizzle and foam up. When this reaction finishes, add enough hot water to cover the racks and leave them to soak overnight. They should wipe clean really easily in the morning!

Stainless Steel Fittings
If your cooker top, sink, splashback, or extractor unit is made from stainless steel, it can sometimes be hard to get them to look really shiny. But there are ways to do this without using harsh chemicals! Once you’ve removed dirt and grease using hot soapy water, you can help to buff it to a shine without smears using a little baby oil on a cloth.
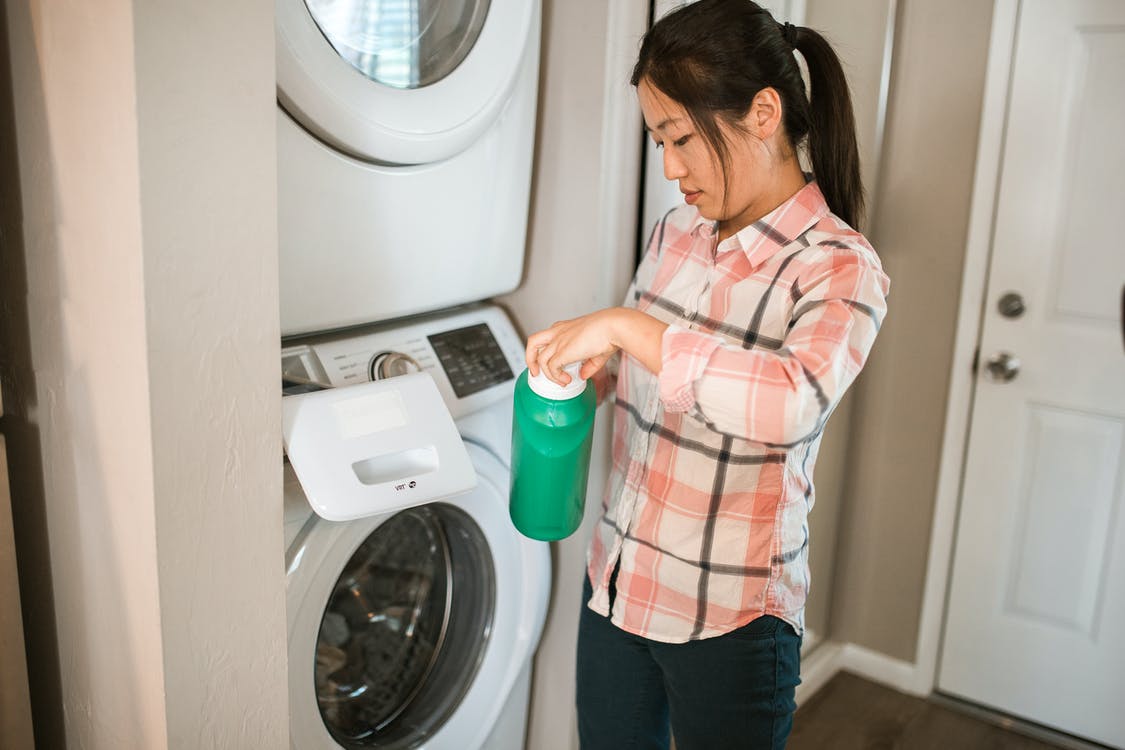
Washing machine
If you want clean clothes, you need a clean washing machine – otherwise you’re risking clothes coming out smelling of mildew, and mould causing damage to rubber seals, which can then end up costing you money to replace. Here are the steps that use to keep our washing machines fresh:
- With an empty machine, add two cups of baking soda to the drum, and run the hottest, longest cycle you can.
- Add two cups of white vinegar and up to 10 drops of essential oil (optional) to the detergent slot in the dispensing tray. Run the hottest, longest cycle you can again.
- Wipe down the outside using your natural multipurpose cleanser and a cloth.
- Open the door to the drum, then wipe the rubber seal with a cloth that has been dipped in neat vinegar.
- Clean the detergent tray. On many washing machines, you can take these out completely and wash them in hot soapy water to prevent mould and build up of fabric softener.
The frequency that you need to clean your washing machine really depends on how often you use it – if you’re using it daily, then you may need to complete these steps as often as every month to keep it free of build-up.
It is usually a good idea to leave your washing machine slightly open when it isn’t in use, to stop mould from growing inside the machine.
Bathroom Cleaning Tips
They might be where we go to get clean ourselves, but bathrooms definitely get grubby really quickly, and there is a lot of potential for germs to be spread. That means that keeping bathrooms clean should be a priority in all households, especially where there are children or anyone with weak or compromised immune systems.
Toilets
Cleaning the loo isn’t one of our favourite jobs, but it is definitely one that needs to be done regularly – and many commercial toilet cleaners contain chemicals that are not great for us, nor for our waterways.
You can use either of the natural multipurpose cleansers to clean the toilet seat, lid, chain handle, and the cistern – spray, let it sit for a few minutes, then wipe with a clean damp cloth.
To clean the inside of the bowl, simply sprinkle baking soda around, and scrub with a toilet brush. If you need to do a serious deep clean, you can spray neat white vinegar on the baking soda, let it fizz for a few minutes, then scrub again with the toilet brush, and flush.
Baths & Shower Trays
Although we’re using products containing soap and detergents to wash ourselves, unfortunately they don’t clean the bath and shower trays. In fact, baths and showers are notorious for collecting dirt (from us!), build up of products we use, and getting stained from water in hard water areas. While there are some very effective commercial cleaners for baths and showers available, you can save money and work with your white vinegar and baking soda.
Method one:
White vinegar is perfect for cleaning baths and shower trays. Simply use a half and half solution of white vinegar and warm water, spray it across the surface of the bath and shower, then wipe with a cloth or sponge, rinse with clean water and wipe again.
Method two:
If you’ve got heavier dirt in your bathtub, then you can try this: sprinkle baking soda around the tub, then spray it with a 50-50 solution of vinegar and water. The mixture will fizz and bubble – this is normal and OK! Let it do so for a few minutes, then rub at it with a non-abrasive sponge or cloth until a paste forms. Let paste sit for around 15 minutes, then wipe and rinse.
For hard water stains, you can use the power of neat white vinegar in a similar way to your shower head. Soak a thin cloth, or paper kitchen towels in white vinegar, and apply to the stained areas for up to two hours, then use method two above to clean the rest.

Plugholes
When you get a clogged plughole and water doesn’t clear quickly, it can be annoying and inconvenient, but white vinegar and baking soda can help to clear them pretty easily. Here are the steps that are recommended to clear drains naturally.
- If hair is the cause of the clog, use a wire hook to help remove as much as possible.
- Pour a kettle full of boiling water down the drain.
- Quickly dry around the edges of the drain – this will stop the baking soda sticking to the tub.
- Empty around half a cup of baking soda down the drain.
- Pour around 120 ml of white vinegar slowly down the drain, which will cause it to fizz.
- Cover the drain with a wet cloth. You’re going to leave this for around five minutes.
- Fill and boil the kettle again, then after the five minutes have passed, carefully pour the whole kettle down the drain.
If the clog is particularly severe, you may need to repeat this process a couple of times to completely clear the blockage.
Shower heads
Many of us love a really powerful shower, but if you live in an area that gets lots of limescale build-up, then your shower head can get clogged up, meaning your shower isn’t as enjoyable as it could be. Luckily, limescale is pretty easy to get rid of – and you don’t need harsh chemicals either.
Remove the shower head from the hose, then fill a small container with either lemon juice or vinegar, and leave it to soak for an hour (or longer, if it is really bad) and then rinse. Your shower head should then be limescale free and running like new again.
Mirrors
You can’t apply makeup, or shave effectively if you can’t see yourself in your bathroom mirror! Getting mirrors clean and free of streaks is pretty easy though – you just need to reach for the white vinegar again.
A 50/50 mix of white vinegar and water shaken up in a spray bottle is all you need, simply spray and wipe with a microfibre cloth, or a clean rag.
If you have a glass shower screen to clean, you can use the exact same method and mix of white vinegar and water.
Tiles
If you’re not a fan of cleaning your bathroom because you hate getting wet while you’re doing it, then one of the greatest tips is to clean the tiles around your shower while you are in there getting clean yourself.
Get yourself a soap dispensing dish brush, and fill it with half dish soap and half white vinegar, and then use it to scrub the walls of your shower while you’re in there. This is much easier, and since you’re washing yourself anyway, you won’t end up needing to get changed!
Bedroom Cleaning Tips
Our bedrooms are our sanctuaries, and since we spend a lot of time in them, it is important to keep them nice and clean. Dust mites can run rampant in homes that aren’t cleaned regularly, which can cause allergy symptoms such as stuffy noses when we wake, and cause interruptions to our sleep. With that in mind, it is really important to clean our bedrooms thoroughly on a regular basis.
Mattress
Beds often get completely neglected when it comes to cleaning, aside from changing the sheets regularly. Considering that mattresses can collect dust mites, dead skin, dirt, and other general debris, it is really important to clean them regularly. Experts recommend doing them four times a year, so try and remember to do this as the seasons change.
If it is possible to get your mattress in sunshine and fresh air, that is a great way to help eliminate bacteria. That’s not always possible though, and we’ve got a chemical-free way to clean your mattress, in some simple steps. Ideally, you’ll do this as soon as you get up, so that it can sit all day, and then take the final steps when you’re ready to make the bed up with sheets before bed time.
- Start by removing the bedding
- Vacuum the mattress, including on the sides and along the seams
- Grab your baking soda, and sprinkle a layer onto the top of your mattress, and then leave for as long as possible
- Once you’re ready to finish it, then vacuum up the baking soda
- Flip the mattress and repeat steps 2-4
- Make your bed with clean, fresh sheets and enjoy!

Pillows
Just like our mattresses, pillows work hard, and even with pillowcases and pillow protectors, they can harbour lots of nasty germs and bacteria – especially if we’ve been ill with a cold, or worse. On top of germs, your pillow can collect hair, skin cells, sweat and saliva – which is particularly appealing to dust mites, causing those allergies.
While you need to fluff your pillow each day to keep it in the best possible shape, you should also clean your pillows regularly. Cleaning your pillows isn’t too tricky – in most cases, pillows can be put into the washing machine on a cool, gentle setting and a mild detergent, however, if your pillows are memory foam, you may need to wash them by hand, so as not to damage them.
After washing, you need to ensure your pillows are completely dry, otherwise if they are still damp, they can get smelly – and you won’t want to put your head on them if they do smell damp! If you’re able to, set them out on the washing line on a breezy day, otherwise, use your tumble dryer with a couple of dryer balls or fresh tennis balls to help prevent clumping.
Duvets
Most duvets are pretty easy to launder – and considering they are exposed to the same sort of nasty stuff that your pillows get exposed to, as well as other bodily fluids, there’s good reason to do so! As long as you’re washing your sheets and duvet covers regularly, the experts at Persil say that you only really need to wash the duvet itself around once a year – assuming that there hasn’t been any accidents involving bodily fluids, of course.
A 6kg washing machine drum can hold a single sized duvet, a 7kg drum will hold a double, while king sized and bigger needs to be in a washing machine drum that will hold more than 8kg.
Most duvets will have a laundry guidance label, so it is a good idea to follow that before washing it – different fillings, such as down, may need different types of care. Generally though, you’ll need to wash your duvet in warm water, with a mild detergent, and you may need to do a second rinse, and a couple of spin cycles in order to help speed up the drying process.
Just like your pillows, be sure your duvet is completely dry before you put it back on the bed – either hang it on the line on a dry day, or put it in your tumble dryer.
If washing your duvet at home is too much, most launderettes and dry cleaners offer services for duvets and pillows. This may be much easier to do than getting your duvet and pillows dry if you don’t have access to a washing line or a tumble dryer.
Wardrobes
Emptying your wardrobe is the first step to deep cleaning it! Then, vacuum the floor and inside the drawers. Then, wipe down all the surfaces with one of your multipurpose cleaners. Allow surfaces to completely dry before you put clothes away.
If you are concerned about clothes moths, then use dried lavender in small pouches, or cotton balls that are infused with lavender and tea tree essential oils, and add them to your wardrobe and drawers to keep bugs away and your clothes smelling fresh.
There is lots of guidance about how to clear out clothes that you don’t wear anymore, but a great tip that we love is to put all hangers in the wardrobe with the edge of the hanger pointing at you. Then, when you’ve worn it, turn the hanger so the curved edge is towards you – then, each time you undertake a wardrobe clear-out, you’ll be able to easily see what you don’t wear regularly, which can help you to decide which pieces to sell, donate, or throw away.
Carpet Cleaning Tips
Even if wearing shoes inside the house is banned, carpets see a lot of dirt. In addition to vacuuming and spot cleaning when spillages occur, you’ll still need to clean your carpets periodically to keep them looking their best.
In the past, harsh chemicals would have been required for cleaning carpets – whether people hired carpet cleaners, or they got a professional service to clean their carpets for them. Today, there are a lot more options! You can still hire carpet cleaners – Rug Doctor hire is available in many supermarkets, and you’ll just need to add the carpet cleaner that you want to use – this Bissell carpet cleaner is biodegradable and doesn’t contain any nasty chemicals.
However, it can be even easier than that. Many steam mops can be used to clean carpets simply using tap water, and a number of well-known brands can be bought for less than £50 – and of course, they can be used to deep clean all around the home with the power of steam.
If you don’t have a steam mop, and want to use natural products to clean your carpets, then there are some great alternatives to chemicals.
Vinegar can be used once again here – you’ll need two parts water to one part vinegar, and then add one teaspoon of salt, and 10 drops of clear essential oil for every 250ml of water you use. Then, add it all to a spray bottle and shake well. Spray across the carpet, then allow it to dry before vacuuming well.
If you don’t want to get your carpets wet, then you can use baking soda (in powder form), and optionally, you can add essential oils to your baking soda. Simply shake liberally across your carpets, leave it for a while – maybe overnight if your carpets are really in need of freshening up – and then vacuum well to collect the baking soda.
Vacuuming your door mat on both sides is the best way to make sure it is as clean as possible – as you’re hoovering the underside, trapped dirt will be shaken loose, and you’ll be able to pick that dirt up easier.
Tips For Cleaning Outside
After you’ve cleaned the inside of your house, and temperatures start to rise in the spring, it is time to clean outdoors too!
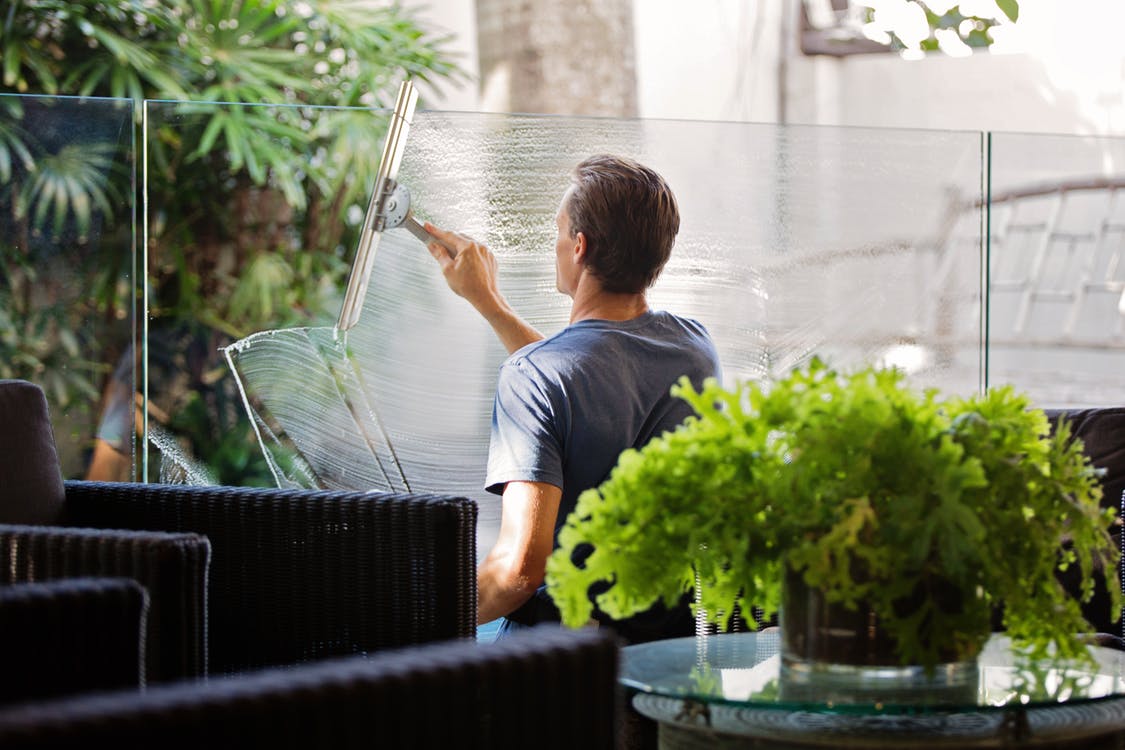
Windows
You might have a local window cleaner that does the job nicely – but they generally don’t clean the insides of your windows! If you’re going to be cleaning your windows yourself, then it can be tempting to reach for a commercial glass cleaner, but they’re not always the best solution, and can be expensive – especially in comparison with our trusty white vinegar.
If your windows are particularly dirty, then it is a good idea to give them a wash with hot soapy water before you do anything else. This won’t leave a streak-free finish, but it will ensure that any dirt from the road, bugs, and spiders are cleared away, and you can clean your window ledges at the same time. Depending on how dirty they are, you might need to change the water between windows.
Then, fill a spray bottle containing a mix of one part white vinegar to 10 parts warm water, and spray liberally on the glass. Wipe the glass down using a cloth, then quickly use a second clean cloth to buff the streaks away.
Paving
Your patio, and any paths you have around the garden can collect dirt over time, especially during the autumn and winter. Grime from mud and decaying leaves can become slippery, and generally doesn’t look as great as it could – so a good clean of paving is sometimes required.
Hot soapy water and a scrubbing brush, and a bit of effort can be all you need to get your paving up to standard, but if you need a bit more of a kick then you can reach for your white vinegar. Depending on how big the area is, you’ll need to mix more solution – but it is as simple as one part vinegar to two parts water. Dip your brush in the solution, and spread the solution liberally, then scrub! Once you’ve got your paving looking great, then rinse it away and let it dry.
Patio Furniture
When it is finally warm enough to sit outdoors, we often retrieve our patio furniture from the shed, only to find it covered in spider webs, dust, and grime. Like your patio, you can use a sponge and a bucket of hot soapy water, which in many cases is all that is required, or you can use your natural multipurpose cleaner and wipe clean carefully.
Final thoughts
While there are many of us that won’t be parted with our trusted cleaning products to keep our homes super clean, more and more of us are reaching for natural, environmentally friendly, and cost effective alternatives. As you’ve seen in this post, in most cases, that means white vinegar, baking soda, and maybe some essential oils, as well as some great cleaning supplies like buckets, mops and cloths.
Comment(s)
Recently Viewed